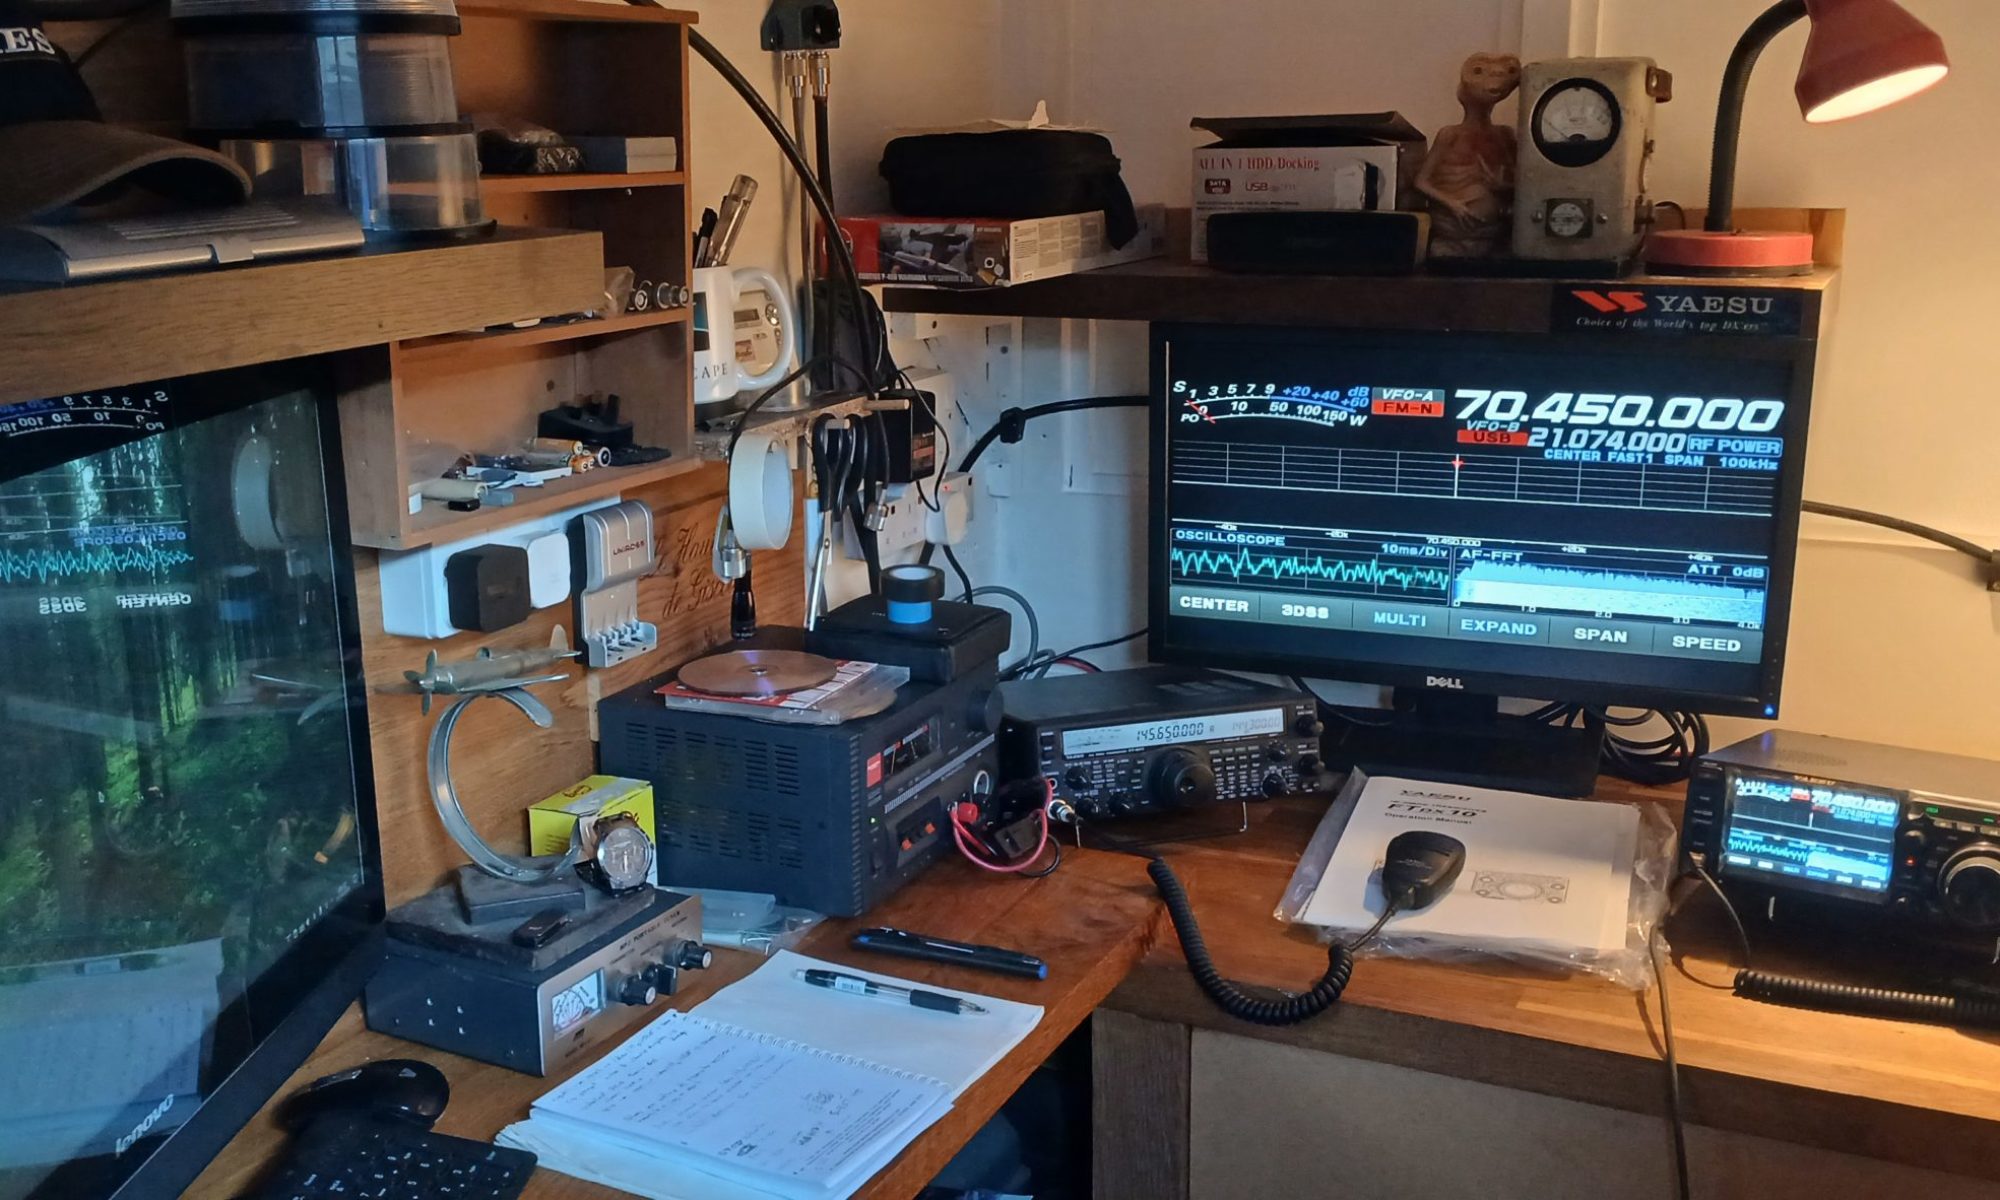
Well I had read the excellent article from Mike (M0AWS). Venturing into the world of AllStarLink . This prompted myself to build this project as it was a good idea when propagation is poor to be able to still keep in touch with like minded Hams.
Now I will not go into detail of the build as this has been covered very well by Mike, however I will add my observations on how I got to the stage of a working system. My first step was to order the various parts required for the build as follows:
- Jumbospot SHARI SA818 Amateur Radio AllStarLink Radio Interface
- Raspberry Pi 3B Plus Kit
- 32Gb SD card
Please note: I have since found out that I should have ordered the PSU @ 5 Amp not 3 Amp. This can be purchase from Pimoroni, you will also need a convertor plug to power the 3B Plus. USB-C to Micro-USB Adapter (I have yet to order this myself as using the original PSU for now).
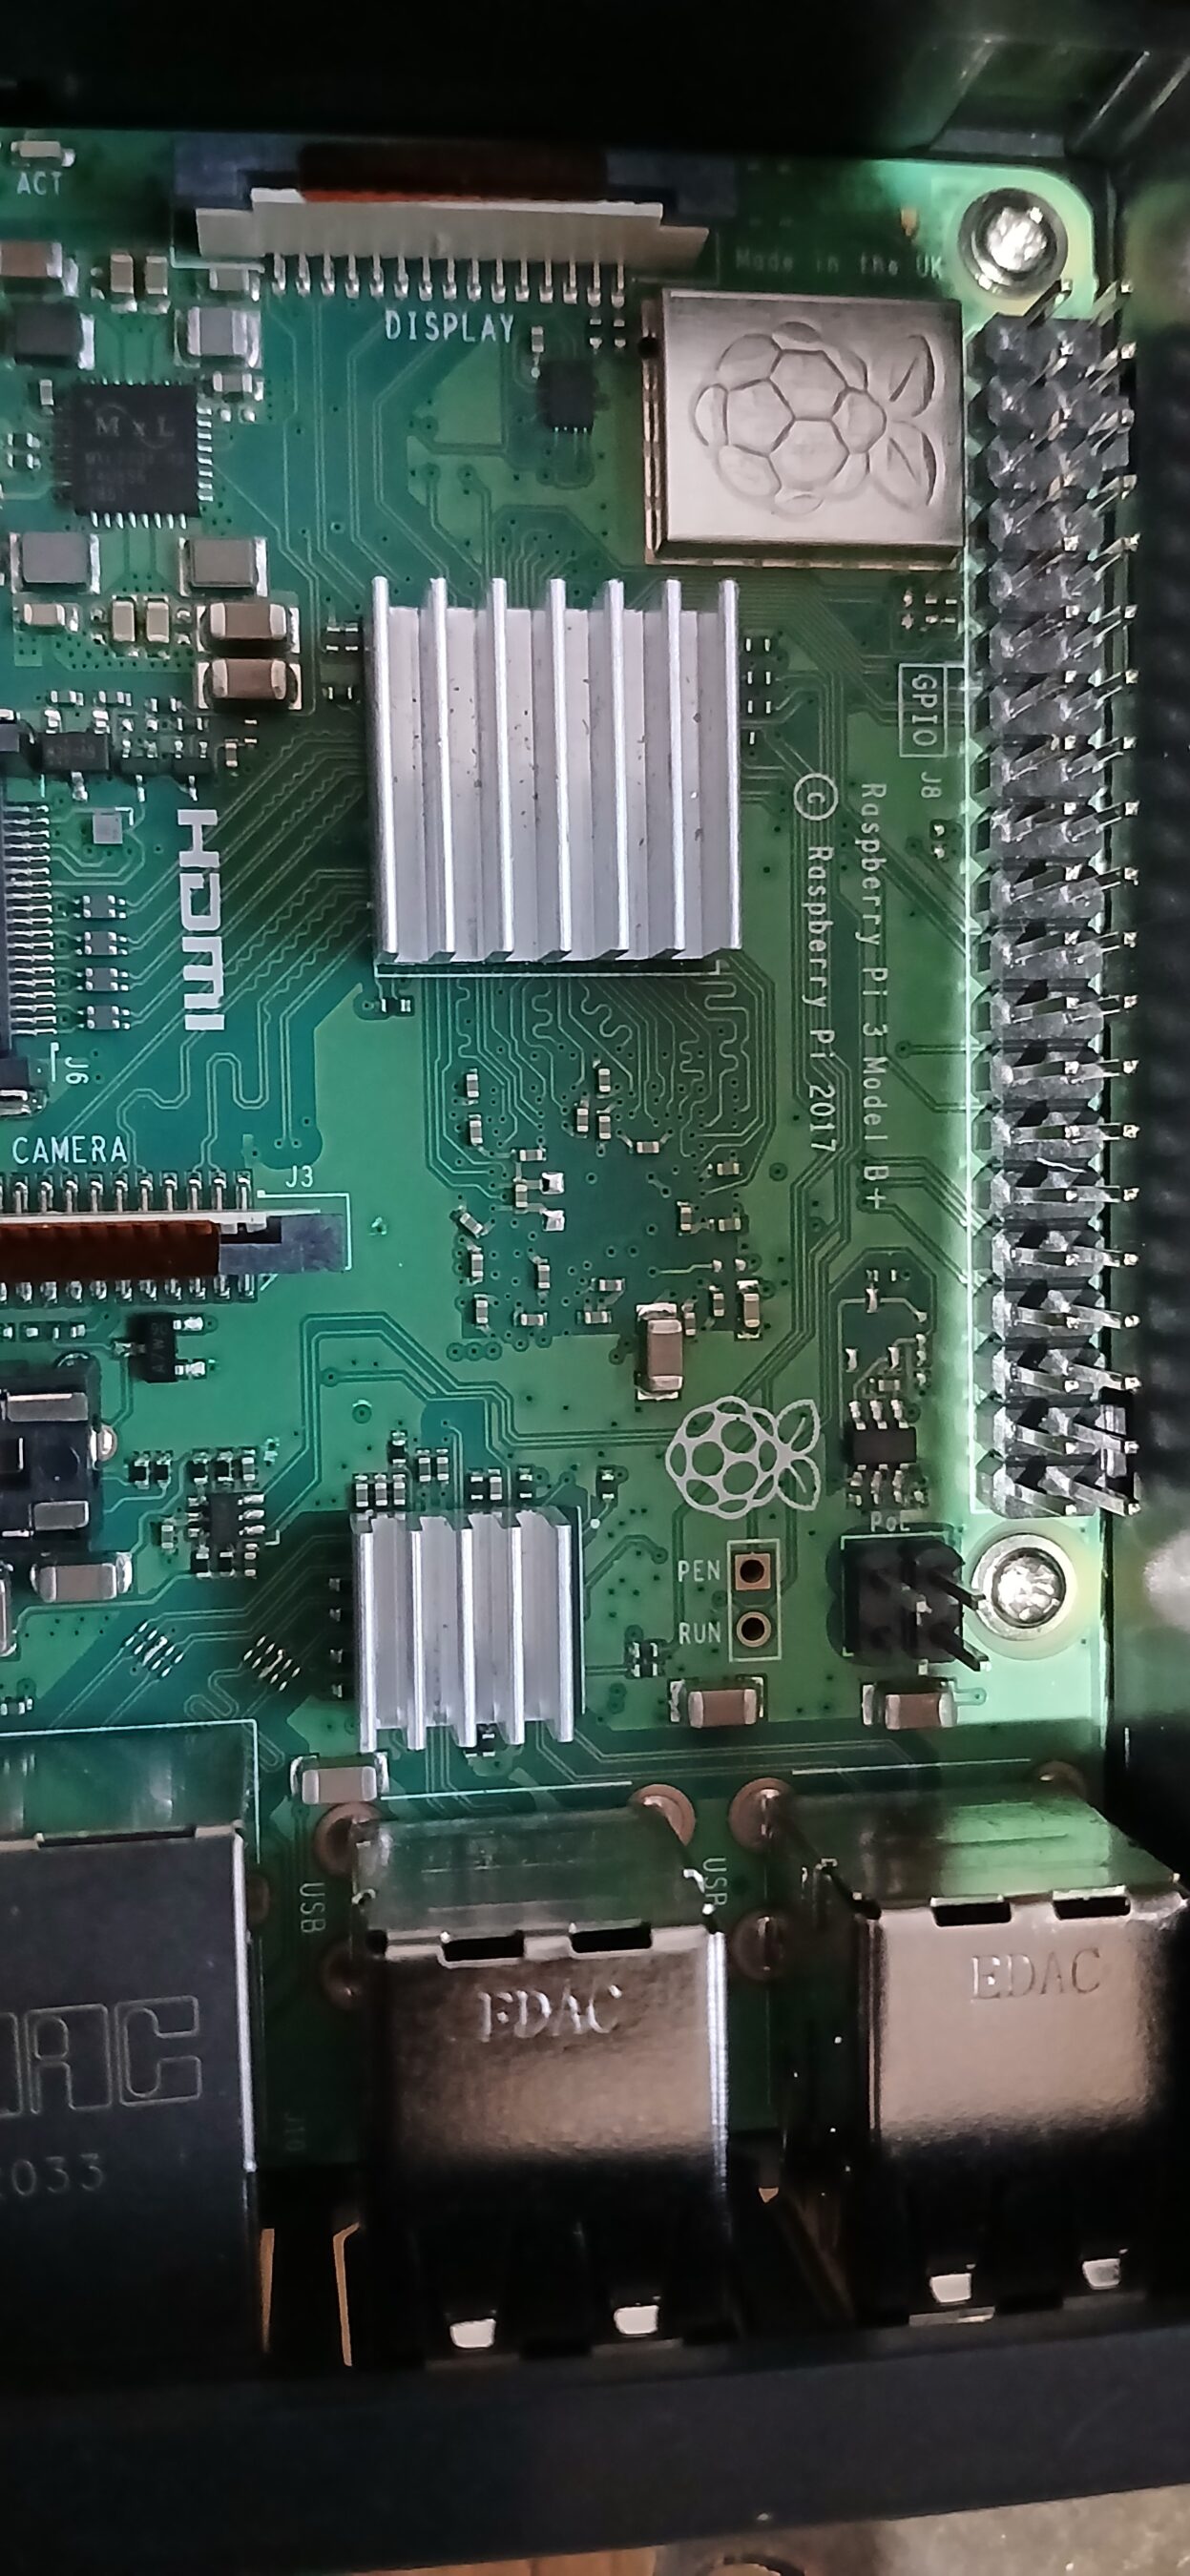
I must confess that I have dipped my toe into the waters of a Raspberry Pi. whilst I have used all forms of hardware over my decades of working in IT (Retired), this is my first SBC system of this type. It comes in kit form so I needed to ensure the heat-sinks were fitted correctly.
I also wanted to check before starting that it worked! After it was all put together I connected the HDMI and power cable and switched on……OK a red light appeared! on the board but nothing from the display. Quick internet search revealed no onboard BIOS. You need the OS installed on the SD card first….sorted 🙂
The next task was to install an OS to the SD card. I used the Raspberry Pi Imager, this was already available in Kubuntu 24.04 as a resource. Once I had it installed, I placed the SD card in my laptop and you just select the OS.
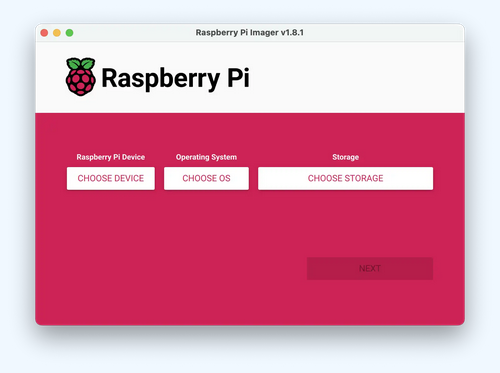
I went for a simple OS install Debian 64bit with KDE Plasma build just to check that the PI was functioning correctly. This was confirmed so I then continued with the excellent build instructions from Mike (M0AWS) as follows:
Automated Raspberry Pi/SHARI Node Build
Just follow this concise instruction. I must as Mike points out, to ensure you do this first. “Before you run the script make sure you have your node number and node secret to hand. These are obtained from the AllStarLink portal. “
Once this was done, I had a fully working system and was able to connect to my node here at my QTH. Further tests with Mike (M0AWS) and Steve (M0XVT) confirmed it was working, however they both informed me of a serious mains hum from me. This was identified by the PSU that came with the PI set.
To confirm this, I connected my Shari Node to my rig external PSU and set this to 5V DC output. I had no mains hum reported. PI PSU binned!, I did cut the output lead that powers the PI as this was needed for the test. Now as my external PSU is for powering the rigs, I needed a way to provide power from a 13.6V to 5V. I sourced the following:
This product provided 5V needed to power the Node. I did have an issue of getting the required 5V output but you just need to turn the small screw anticlockwise quite few times! I used my multimeter to confirm the 5V output before connecting the PI power.
The final part to this build was to have the node announcement give the call signs rather than a number, so back to Mike (M0AWS) for that part as follows:
Add Node Names to SHARI AllstarLink Announcements
More to come……